2

My blog has moved!

3

You should be automatically redirected in 6 seconds. If not, visit
http://makingchickensalad.com
and update your bookmarks.

4
DSC_0138
This is the extent of my costume this year. Blatantly copied.

I'm not sure how I feel about adults dressing up for Halloween. Are you doing it?

TUTORIAL: VINTAGE SHEET SHOWER CURTAIN

DSC_0024
DSC_0036
DSC_0037
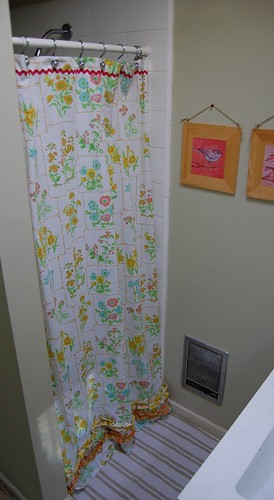
Cute shower curtains can be hard to find, especially if you are on a tight budget. One can easily be made, though, using vintage sheets! These instructions are for a standard 74"x74" shower curtain, although I made mine a little smaller to accommodate my shower.
DSC_0006
For this project you will need:
(1) piece of a vintage sheet, cut to 75"x75"
(2) strips of vintage sheets (in different colors) cut 6"x90" (you may need to piece
together two strips to get one long enough) for the ruffles
(12) grommets. I used one of these to apply these. If you prefer, button-holes can be used instead of grommets.
rick-rack for embellishment (mine is vintage)
DSC_0007
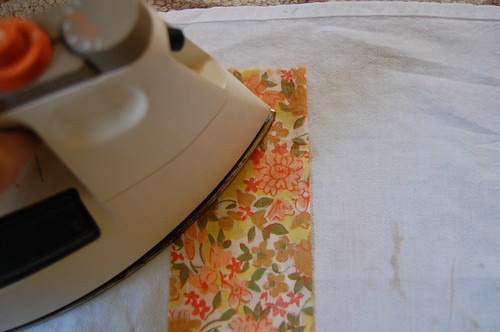
First, we will make the ruffles. Press each of your 90" strips in half length-wise, with the wrong sides out.
DSC_0009
Stitch the raw edges shut to form a tube.
DSC_0010
Turn the tube right-side-out and press it, with the seam running down the middle of one of side.
DSC_0013
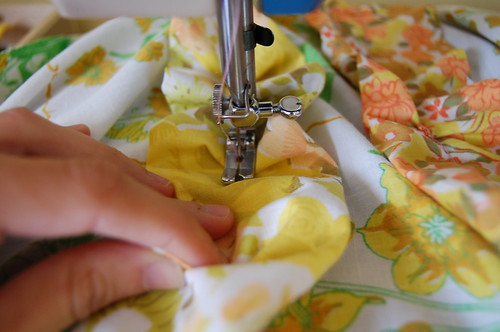
Run a loose basting stitch down the middle of the tube, using the existing seam as a guide. Don't back-stitch at either end! Gently tug on the top thread, and the seam will start to pucker. Carefully do this along the entire length of the tube. Once finished, you have your first ruffle made! Repeat the previous steps to make your second ruffle strip.
DSC_0015
To attach the ruffles to the curtain panel, pin the ruffle strip in place and carefully stitch it, gently gathering up the fabric as you go. If you have a ruffle foot attachment for your sewing machine this step will be easier. If not, though, no big deal. Just pay careful attention to what you are doing and please watch your fingers!
DSC_0019
Once your ruffles are attached to the bottom of the curtain, stitch a row or two of rick-rack across the top.
DSC_0016
To hem, press in the seam one half inch (toward the back of the curtain)
DSC_0017
and then another half-inch,
DSC_0018
pinning as you go along to keep everything in place. Try to use the already hemmed edges of your sheet to your advantage and save yourself some work! I used one for the top edge of my curtain.
Once your curtain has the embellishments attached and is hemmed on all four sides, you are almost done! The last step is to attach the grommets.
DSC_0022
Use your old shower curtain or your curtain liner to mark on the new curtain where the grommets will go. This distance is 6" apart from center to center.
DSC_0023
Using the marks you just made, cut a hole and follow the package instructions to attach each of the 12 grommets. Once your grommets are attached your curtain is ready to hang!

I went thrifting at two of my favorite places with this pretty lady today and found so many great things!
DSC_1054
Thank goodness April was there to talk me into these boots. I probably would have walked right past them on the way to the typewriters, but she made me try them on and they fit PERFECTLY. Thanks, April! I can't wait to wear them...
DSC_1045
I also found this little crib quilt today, which is perfect as a little "headboard" above Henry's platform bed.
DSC_1049
P.S. I love the curtains in his room!
DSC_1061
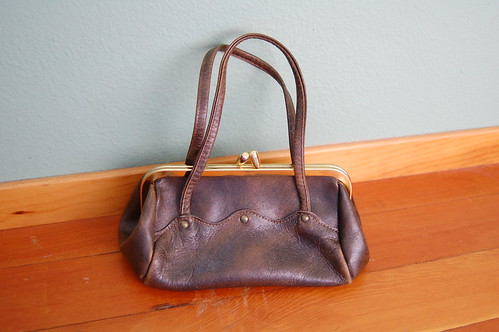
I also love this little handbag, but it will most likely end up in the vintage shop either late tonight or tomorrow...
DSC_1069
DSC_1031
DSC_1029
DSC_1017
along with these fun finds
DSC_1077
DSC_1073
DSC_1080
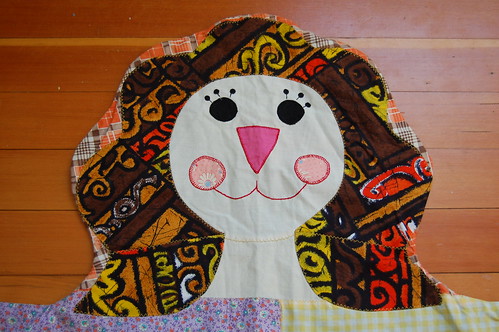
and this fun friend, who is so cute and so well made I can hardly stand it. At first I thought is was a funny interpretation of one of those hide rugs, but soon realized it is a duvet cover for a child'd bed.

The other day my sister was wearing a super cute Brazilian Bonfim--or wish--bracelet. You are supposed to tie these colorful ribbon bracelets to your wrist using three knots and as you tie each knot you make a wish. The bracelets are to be worn until they fall off on their own and at that time your wish will come true.
There is something very sweet to me about a whole country of people making wishes on these pretty little ribbons.
I'm sure you can see where this is going...
DSC_1007
I made my own! Using some vintage seam binding ribbon and little stamps I made bracelets that read "CREATE YOUR LIFE." This sentiment is important to me because as many times as I try things and fail, I don't ever want to stop trying to make my life what I want it to be--not what others think it should be.
DSC_1000
These were fun to make, so I made a few extras and put them in the handmade shop in case you would like one, too.

xoxo
IMG_3042 copy
Spotted! A super pretty finger-knitted garland by Kate of Skunkboy Creatures. I love it!
For the past year or so I have been OBSESSED with the thought of making my own shoes. I have tons and tons of leather scraps and really want to use them to make a little pair of mocs or boots.
62668-00-L
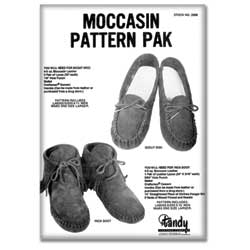
So I ordered this pattern and set to work.
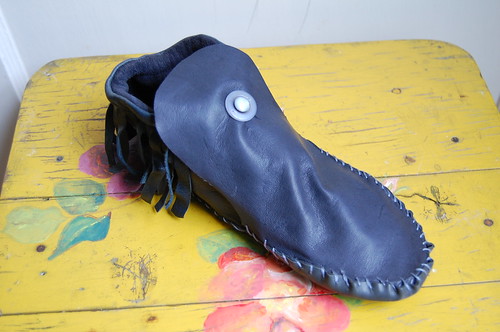
DSC_0920
FAIL!! This thing is so hideous that I didn't even bother to make its mate.
4601-193-L
Then the other day I stumbled across one of these kits at the thrift shop for $3.
DSC_0919
FAIL! Again.
I am having a hard time making the image of what I would like to make in my head match up with the reality of what my hands create. Do you ever have this problem?
FeaturePage-Crop
x-suede-fringe-bootie
x-ribcage-flat
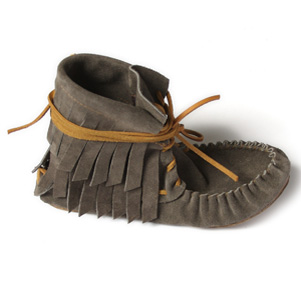
These are more of what I was going for.
It will probably take a few more attempts, but I am confident that I will be able to come up with something I like. How about you? Are there any projects or skills you keep attempting but cant seem to get just right?