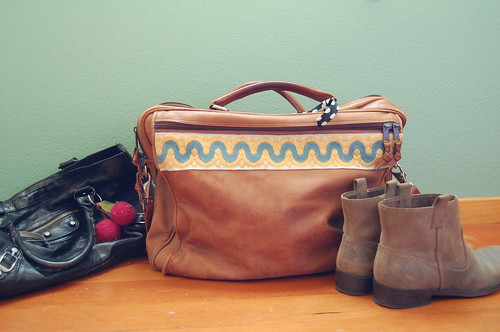
This is a quick little needle felting project to spruce up any handbag or luggage of yours. If you have never needle felted before, please visit
Kay Petal's website for an introduction to this amazing craft.
The Felted Ewe sells all of the necessary supplies (including some really good starter kits) and also offers free instructions.
OK, let's get started!
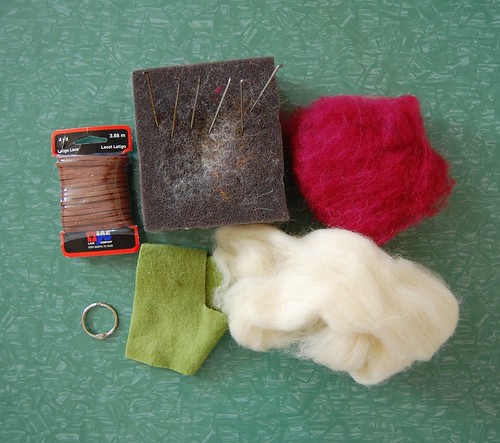
You will need:
*An 8" piece of latigo lace (available in the shoe section of any drug or big box store) *Wool roving: natural colored and red
*felting block and needles
*key ring (for this project, I like the ones that swing open)
*green felt

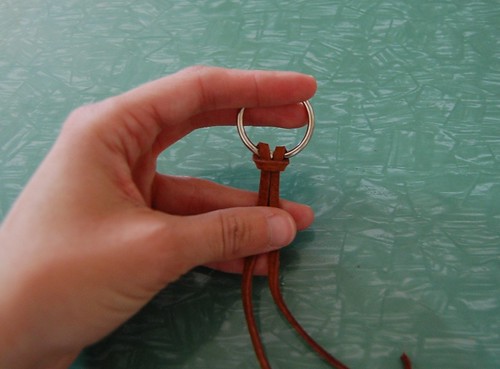
To begin, fold your leather lace in half. Holding it in the middle of the keyring, pull the ends through the loop in order to secure it to the ring.

Tie a knot on each end of the leather.
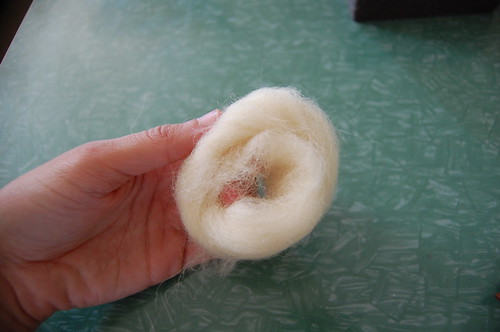
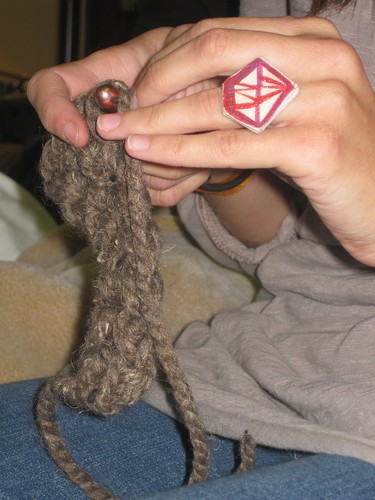
Wrap a length of natural colored wool roving around your fingers in order to form a loose ball (about the size of a golf ball), making sure to leave an opening in the center.
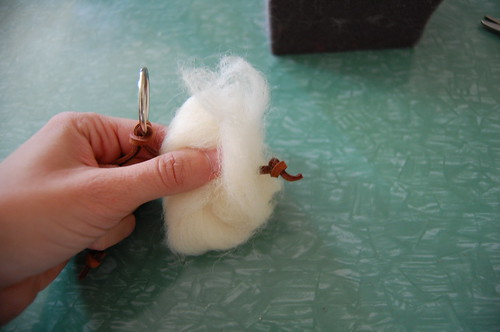
Slip one of the strips of leather though the middle of the sphere

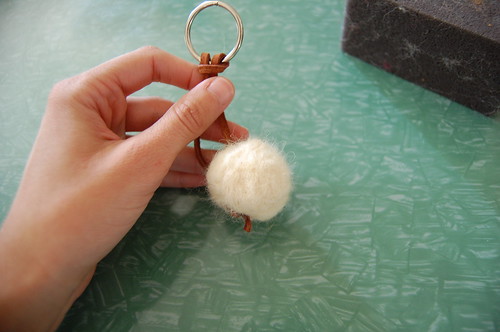
and use your needle to felt the wool into a ball shape. Please watch your fingers--those needles are sharp!
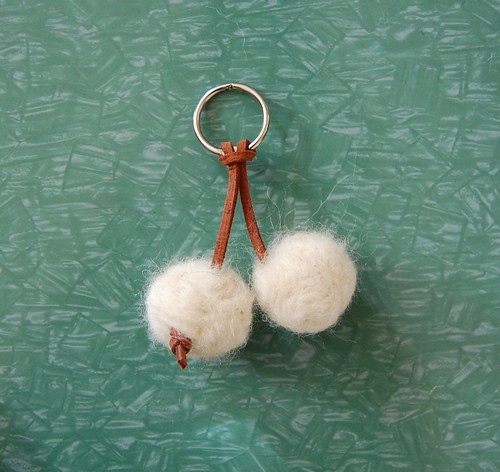
Repeat to create a second cherry.
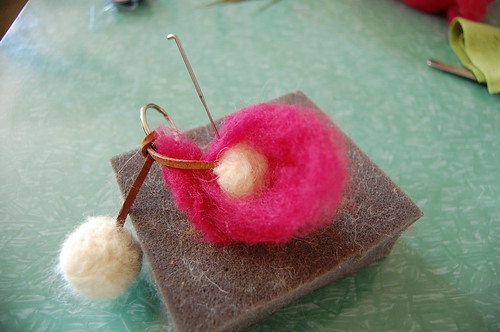
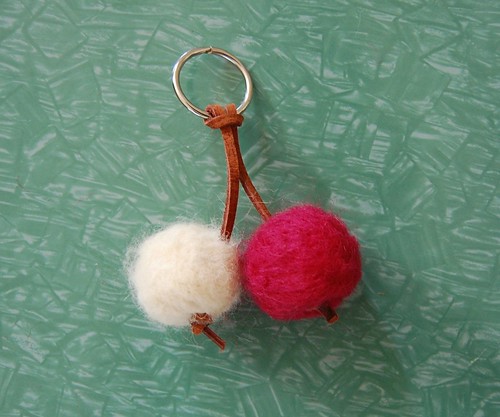
Using your needle, adhere a layer of red wool to each cherry.
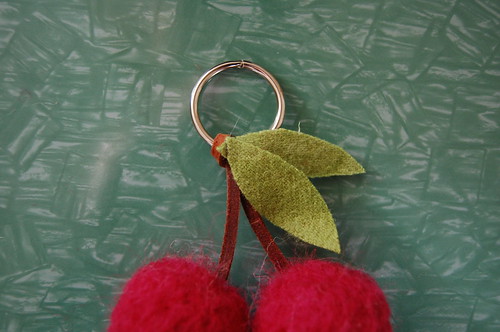
Cut two little leaves out of felt and use hot glue to attach them to the back of your cherry stems.
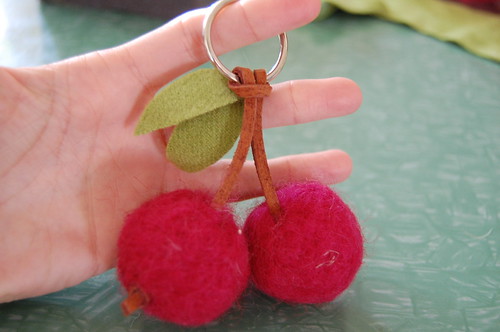
And you're done!
These are really quick to make and are great last minute gifts!