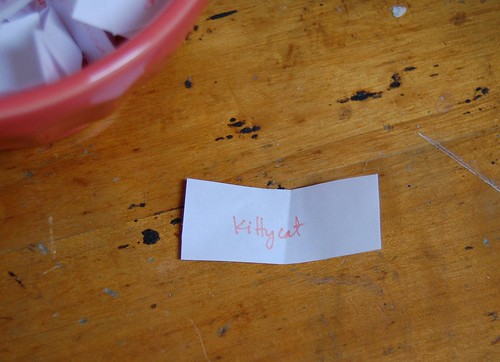
We have a winner! Josh volunteered to pick the name, and it is Kitty Cat! Congratulations! Please email me with your address and I will have your package in the mail ASAP.
Thank you SO much to everyone who entered--I truly appreciate your efforts! We will definitely have to do this again. :)
Contest Time!
Since the main project I have been focusing on in recent weeks is Pretty Zakka Shop, I decided that it would be the subject of today's WIP Wednesday. I also decided that it would be fun to do a giveaway!
The prize consists of the following items from the shop:
*one Paper Doll Coloring Book
*one set of Sweetheart Paper Cupcake Molds
*one yard of Shinzi Katoh Forest Linen Tape
*one roll of Black lace Deco Tape
*one cream colored Slice of Cake Lace Basket
*one "Alice Falls" Memo Pad
*one Pink Medium Balsa Tray
*one Pink Cake Shop Gift Box
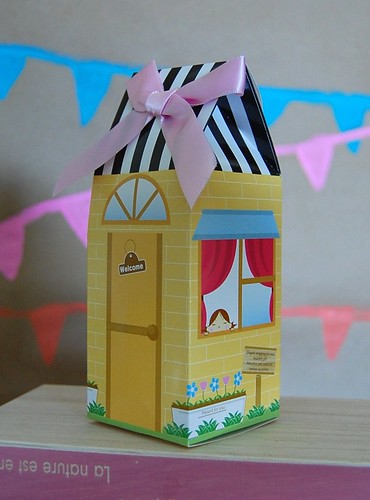
*one Yellow Little House Gift Box
Would you like to win? If so, here is how you do it...
To enter you name into the random drawing, you can either:
*Tweet this post (which is super easy by using the "ShareThis" button below)
*post this to Facebook (again, super easy using ShareThis)
*Mention (and link to) Pretty Zakka Shop in a blog post
*Add the Pretty Zakka Shop button to your side bar.
You will receive one entry for each of these things that you do, for a possible total of four entries!
IMPORTANT!! Please let me know in the comments section of THIS POST which of these things you do so that I know who has entered the contest. As it will not be possible for me to keep track of everyone's posts on your individual Twitter/Facebook accounts and blogs, please make sure to leave me a comment so I know. I do not want to leave anyone out!
Some of you have already posted about Pretty Zakka Shop in various places. First of all--THANK YOU! Please feel free to use these as your entries and leave a comment about them.
Entry to the contest will be closed and a winner will be chosen at 9 a.m. PST on this Friday, February 26.
Good luck! Everything in already boxed up and ready to go to the post office as soon as i draw the winner on Friday!
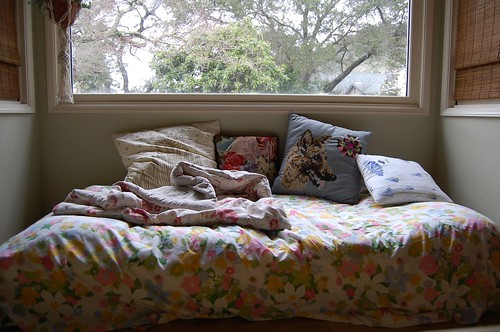
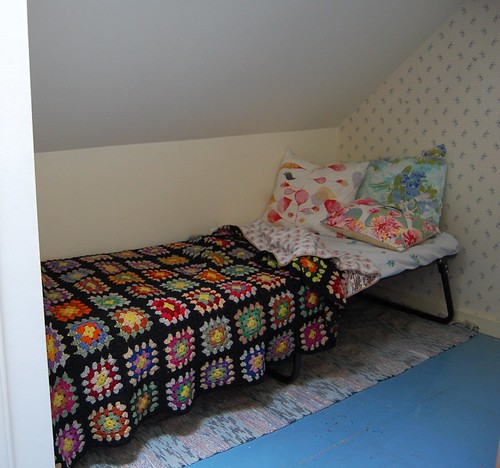
I recently bought Henry a new loft bed and put his old platform bed in the little nook under the windows in the family room. It took me about two seconds to get over the fact that it might be weird to have a bed in a non-bedroom and to declare this my favorite spot in the house. I predict much time spent here with a wiggly little boy and one chubby little puppy.
What is your favorite spot in your own house?
xo
WIP WEDNESDAY
Here is a little peek of what I am working on right now... These granny squares will be used to make a pretty new cover for a rectangular throw pillow on out bed. The yarn is from Debbie Stoller's new line and I love it! The texture is so nice and easy to work with. Hopefully she will also add some new colors to the line!
Next up is a basement renovation from sweet Nicole of i heart napa. She is in the process of building a home office in her basement (as well as adding a laundry room and a new heating system), and I can't wait to see it! Nicole's home is beautiful, and I know her new office will be no exception!
TUTORIAL: CROCHETED ROPE BASKET
I love having little baskets and containers around to keep things tidy, and have really been wanting to experiment with different materials to crochet with recently. This little basket is not only a perfect way to practice crocheting with rope, but also to hold little odds and ends! For this project I used a Size P crochet hook and one package of clothesline rope. This rope is nylon, but it would be fun to use cotton rope and experiment with dyeing it different colors! How cute would it be to dye the rope a few different colors and make a giant granny square rug?
Now, lets get to the project pictured above...
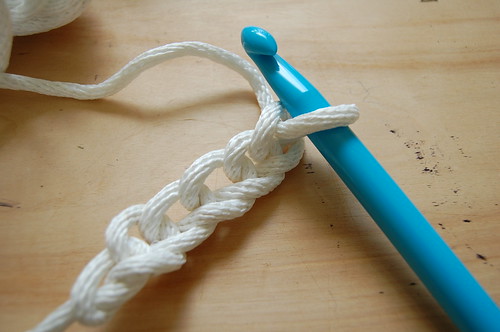
To begin, start with a slipknot and then chain five stitches.
In order to close up your loop, send your hook through the center of the original slipknot and chain one.
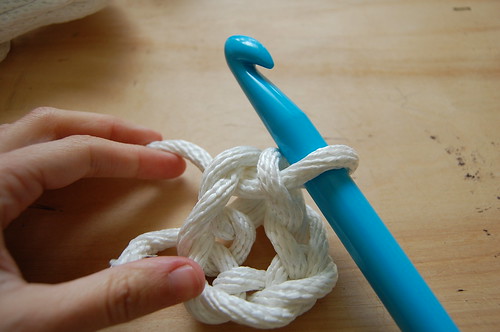
Your loop should look like the one above.
Send your hook through the center of the loop and single crochet six stitches. This should bring you back where you started--please feel free to improvise by adding or subtracting stitches, if necessary.
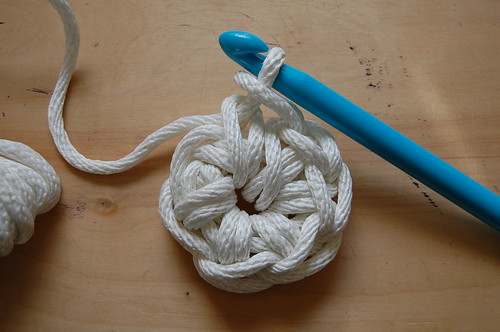
One completed round should look something like this.
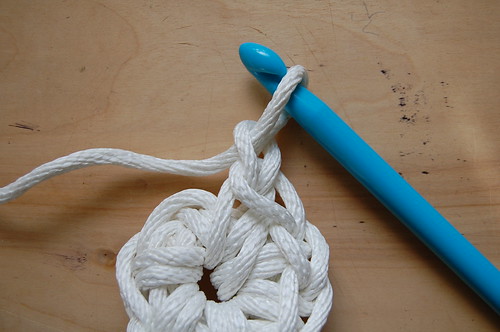
Chain one, and go around the circle again.
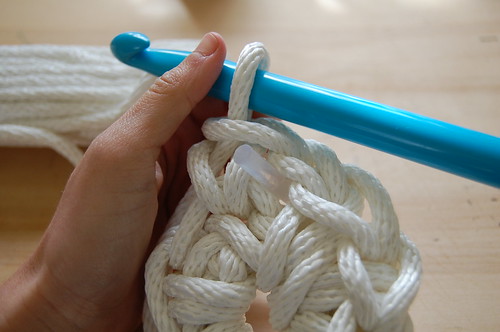
Stitch markers definitely make it easier to keep track of where your rounds begin and end. I did not have any handy, so I used a glue stick. :)
Round and round we go...
When your base is as wide as you want it (mine was four rounds), it is time to begin building up the walls. Start with a chain stitch...
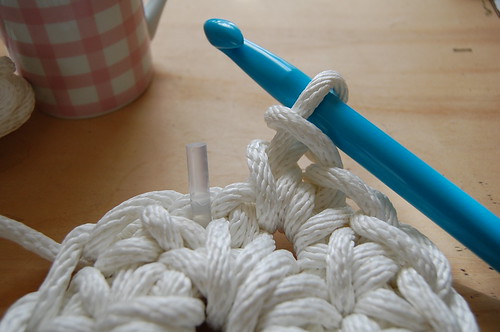
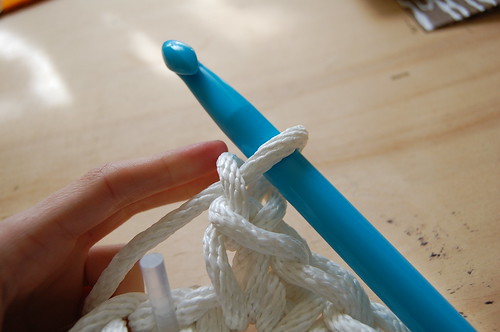
Then begin your next round of single crochet through the top of each stitch below (by sending your hook through the middle of the stitch, as opposed to underneath it).
Pull these stitches tight, in order to form a stable base for your basket.
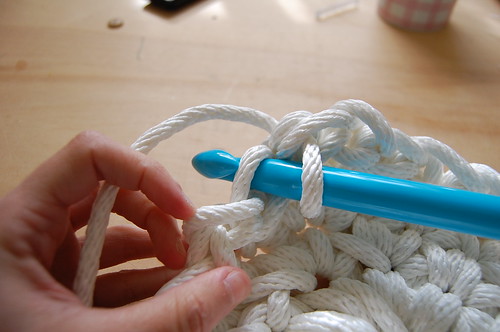
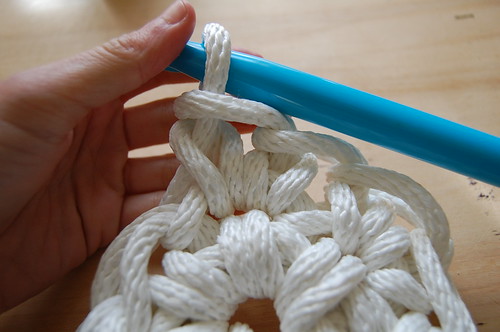
Once the base round is finished, chain one and start on round two of your walls. For round two and each round after, crochet through the bottom of each stitch.
Keep going...
and going...
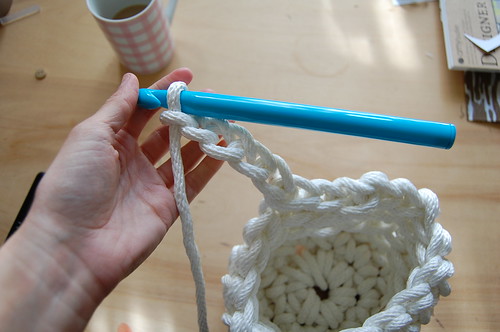
When you are ready to begin your last row, chain five stitches. This will become your handle.
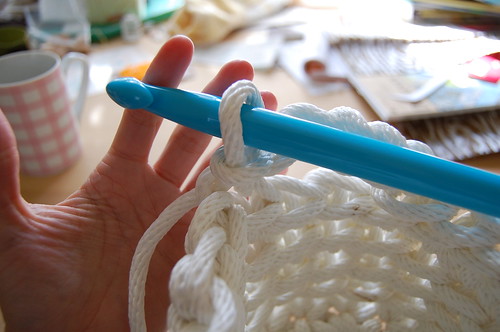
Skip two stitches and attach the chain to the basket rim with another chain stitch. Continue to chain stitch to the rim until you are halfway around the basket. Follow the instructions above to make another handle, then continue your stitches until you reach the beginning of your round.
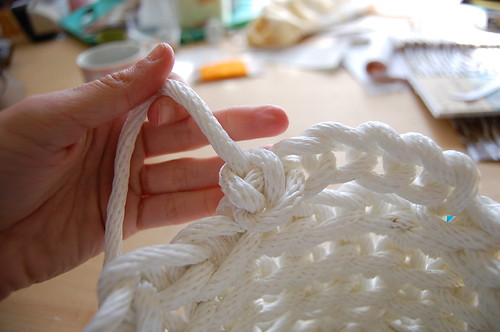
When you have reached the end of your last round, pull the end of the rope through the last stitch, then weave it into the basket and tie it off.
All done!
If you do this project, please email me a photo--I would love to see it!
Dear Josh,
I can't decide if the past three and a half years have gone by quickly, or if it seems we have been together forever. It has not always been an easy road (in fact, sometimes it has downright sucked), but we continue to move forward and to progress, and for that I am thankful. Stopping in front of that red barn to see if you and the little black coupe needed help was one of the best things I have ever done.
I love riding around with you in the smurf-y blue roadster.
I love riding around with you in general...
I love that you not only love me, but also my strong willed little boy
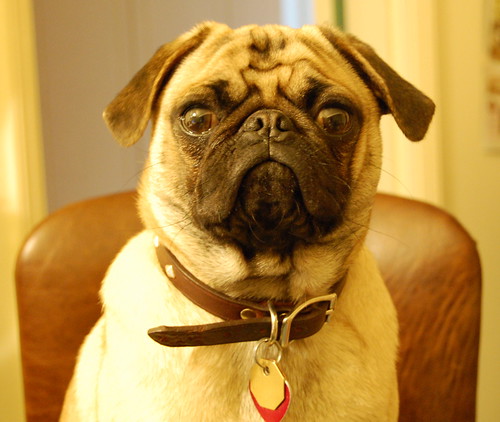
and our fat little pug (look how little he was here!).
I hope we continue to move forward together forever, and that you love us as much as we do you.
xoxo
Here is a fun little sneak peek of the giant project I have been hinting about...
I will be closing my etsy shops this week (so if there is anything you have had your eye on, grab it now!) and opening a new shop! The new shop will feature cute zakka style items for you and your home, and I could not be more excited about it. I LOVE having shops, and i obviously LOVE making things, but I have realized that I do not love making things to sell. I have decided to keep making things for fun (and sharing them with you, of course!), but not to put any added pressure on myself by trying to sell them.
Changes will also be happening with this here blog... In an effort to be a better blogger, I am setting up a few little weekly routines. Each Monday I will post a new tutorial, (this will start tomorrow!) and each Wednesday I will host WIP Wednesdays. I will be posting progress photos of my current projects (say that 10 times fast!), and I would LOVE, LOVE, LOVE for all of you to email me photos of your WIPs to post, as well!
It's a lot of change, but I think it will all be for the better. Let's see how it goes, OK?
XOXO
Just a little hint as to why I have been somewhat absent in this space recently... I am working on a big project, which I am (and I hope you will be!!) in absolute love with. More details are coming soon!
In the meantime, I am taking very seriously the lovely advice from Tara and will soon establish some more concrete blogging routines (aka a schedule!). A weekly tutorial is definitely in the cards. Is there anything else you would like to see more of?
Hope your weekend was a lovely one!
Subscribe to:
Posts (Atom)